LightBlog

mardi 23 août 2022

Sony unveils DualSense Edge wireless controller for the PlayStation 5

During the Gamescom Opening Night Live event, Sony unveiled a new controller for the PlayStation 5 dubbed the DualSense Edge wireless controller. While it was a long time coming, Sony has finally created its own “pro” model controller for the PS5. As you might expect, it features the ability to customize the experience through hardware and software modifications.

DualSense Edge wireless controller for PlayStation 5

Software

The DualSense Edge wireless controller can remap or deactivate specific buttons on the controller. The stick sensitivity can also be adjusted, and dead zones can be dialed in. Furthermore, the triggers are also adjustable, with users having the option to adjust travel distance and dead zones. Players can also save customized control settings and create profiles, making it easier to adjust the controller on the fly when hopping from game to game. A dedicated function (Fn) button also allows quick access to settings like controller profiles, game volume, chat, and more.

DualSense Edge wireless controller for PlayStation 5

Hardware

It wouldn’t be a pro controller without the ability to modify the hardware. The DualSense Edge wireless controller has three different types of swappable caps for the left and right sticks. It will also have replaceable options for the back buttons. It takes things further with replaceable stick modules. Sony didn’t provide details but stated that they would be sold separately. It will also come with a braided USB Type-C cable that can lock into the controller, preventing it from coming loose during intense gameplay.

The DualSense Edge wireless controller will retain the standard DualSense controller’s native features like haptic feedback, adaptive triggers, built-in microphone, motion controls, and more. It will come with a carrying case to keep everything together in one nice package. It can even be charged through USB while stored in the case. Sony did not announce a launch date or a price but stated that it would have more to share in the coming months.


Source: PlayStation Blog

The post Sony unveils DualSense Edge wireless controller for the PlayStation 5 appeared first on XDA.


from XDA https://ift.tt/NrT86UR
via IFTTT

Can the Samsung Galaxy Watch 5 series detect a fall?

Following the solid success of the Galaxy Watch 4 series, Samsung is back again with a pair of new smartwatches: the Galaxy Watch 5 and Galaxy Watch 5 Pro. Instead of reinventing the wheel, the new Galaxy Watch 5 series keeps the best features of the last lineup while bringing some much-needed improvements such as a bigger battery and a stronger design. Just like its predecessor, the new smartwatches offer a plethora of health and wellness features, allowing you to monitor your sleep, heart rate, stress level, post-workout recovery, and even your body temperature. What’s more, your Galaxy Watch 5 can also detect falls and provide emergency assistance.

Fall Detection on the Galaxy Watch 5 and Galaxy Watch 5 Pro

The Galaxy Watch 5 series offers a feature called Hard fall detection, which can be a lifesaver in emergencies. Once enabled, the Galaxy Watch 5 can detect hard falls and alert you if emergency assistance is needed. When a fall is detected, the Galaxy Watch 5 will display an alert for 60 seconds with a popup, sound, and vibration. If you fail to respond within the timeframe, the watch will automatically send out an SOS to the authorities and your emergency contacts.

    Samsung Galaxy Watch 5
    The Galaxy Watch 5 offers a plethora of health and safety features including sleep tracking, heart rate monitoring, and fall detection

How to set up the Fall Detection feature

Fall Detection is turned off by default. To set it up, open the Samsung Wearable app on your phone and navigate to Watch settings > Advanced features > SOS > When hard fall detected. Turn on the toggle to set up the feature. The Samsung Wearable app will need the Location, SMS, and Phone permissions. After that, choose which people from your phonebook you want to set as your emergency contacts.

Hard fall detection settings in Samsung Wearable app

    Samsung Galaxy Watch 5 Pro
    The Galaxy Watch 5 Pro offers the largest battery in a Galaxy Watch, advanced sleep tracking, and fall detection

The Fall Detection feature itself isn’t new. It was first introduced on the Galaxy Watch 3 and is also available on the Galaxy Watch 4 series. In particular, it can be of great help to the elderly and to those who regularly engage in dangerous outdoor activities such as mountain climbing and bungee jumping.

The Galaxy Watch 5 series was unveiled alongside the Galaxy Z Fold 4 and Galaxy Z Flip 4. It’s now available for pre-order in multiple markets.

The post Can the Samsung Galaxy Watch 5 series detect a fall? appeared first on XDA.


from XDA https://ift.tt/vVI9FPu
via IFTTT

Nothing Phone 1 Android 13 update slated for 2023

It’s tough launching a new smartphone company in 2022. The competition is fierce, and the stakes are high. While we don’t know the financials behind the business, from the outside looking in, Nothing has done an excellent job so far. The phone has been released, it’s getting into the hands of buyers, and the company has been releasing software updates at a feverish pace. But, it looks like one software update for the phone won’t be landing until much later, slated to arrive sometime in the first half of 2023.

The folks at Android Authority got word from Nothing’s PR team, explaining that Android 13 wouldn’t be ready until next year. This interaction was perhaps prompted by the fact that last week, Nothing CEO Carl Pei sidestepped the Android 13 question when asked about it through Twitter. Now, if you’re a Phone 1 owner, you might be asking yourself why it will take anywhere from four to ten months for the update to arrive. The company stated that it wanted to “fine tune the software upgrade with Nothing’s hardware.”


Currently, Android 13 is only available for Pixel devices. While it isn’t a significant update like Android 12, the refinements and minor enhancements are welcome. Some will also welcome the improved stability over Android 12. This year’s update comes sooner than anticipated, dropping much earlier than the release of the upcoming Google Pixel 7 and Pixel 7 Pro. Last year, Android 12 was released just a few weeks before the Pixel 6 and Pixel 6 Pro releases.

Recently, Nothing delivered Nothing OS version 1.1.3. The update offered several improvements, most dedicated to the camera. The update also added support for Google’s Adaptive Battery, which should help further optimize battery life on the phone. If you are interested in the update, check your system update menu, as it is currently being rolled out over the air. You can download the image and sideload it if it hasn’t arrived. If that sounds intimidating, don’t worry, we have a guide just for beginners.


Source: Android Authority

The post Nothing Phone 1 Android 13 update slated for 2023 appeared first on XDA.


from XDA https://ift.tt/cMIdvaB
via IFTTT

How to receive geofence alerts through location-aware reminders on iOS

Modern life can be pretty overwhelming. We’ve got plenty of matters to tend to, and there are present-day pressures that didn’t exist in the olden days. One of the perks of living during these times, though, is the ability to utilize the technologies we have on hand to make our lives a tad easier. So whether you have a great iPhone, a versatile iPad, or one of the excellent Macs — you can program these devices to do some of the thinking on your brain’s behalf, so you don’t have to. Apple Reminders is a useful iPhone app that helps you keep track of tasks, shopping lists, etc. Though, sometimes setting the traditional reminder date/time is of no use. What if you want your iPhone to remind you of a certain thing when you enter or leave a certain neighborhood? Well, you can do that. Here’s how to receive geofence alerts through location-aware reminders on iOS.

Creating location-aware reminders on iOS

How to receive geofence alerts through location-aware reminders on iOS

  • Launch the built-in Reminders app on your iPhone.

How to receive geofence alerts through location-aware reminders on iOS

  • Click on New Reminder in the bottom left corner.

How to receive geofence alerts through location-aware reminders on iOS

  • Give the reminder a relevant title and optional notes.

How to receive geofence alerts through location-aware reminders on iOS

  • Click on the location arrow icon. It’s the second one from the left in the bottom toolbar.

How to receive geofence alerts through location-aware reminders on iOS

  • Choose between Arriving Home, Getting in Car, and Custom.

How to receive geofence alerts through location-aware reminders on iOS

  • By choosing Custom, you get to search for an address and decide if you receive the notification when arriving or leaving the place. You additionally get to expand or reduce the geofence radius depending on your preference.
  • Voila! After you create this reminder, when you leave/arrive at this location, you will receive a Reminders notification to alert you. Make sure you keep Location Services enabled and grant the Reminders app permission to access them.

Personally, I use location reminders when I’m heading to a special gathering or party. I set it to remind me of the gift I should take with me when I leave the house — just in case I forget and leave it behind at home.

What do you use location reminders for? Let us know in the comments section below.

The post How to receive geofence alerts through location-aware reminders on iOS appeared first on XDA.


from XDA https://ift.tt/xb3taJM
via IFTTT

How to insert a SIM card in your Android phone

After unboxing your brand new Android smartphone, the first thing you would want to do is insert a SIM card. That way, you’ll be ready to start making calls and have a working data connection once you complete the initial setup. And if you don’t have a WiFi connection, you’d also need a SIM card and a data connection to help complete the initial setup process. Back in the day, inserting a SIM card required removing the back panel as the slot was located under the battery. Unless you have an older smartphone, you don’t usually need to do that anymore.

Almost all new smartphones nowadays come with a small dedicated SIM tray that’s placed on the side, top, or bottom of the phone. Inserting a SIM card into a smartphone is a very straightforward process, but it may feel a bit confusing to some as there are different SIM cards, and the process varies across Android OEMs. Follow these steps to properly insert a SIM into your Android smartphone. If you have an iPhone then refer to this guide on how to insert a SIM into your iPhone.

  • Switch off your smartphone.
  • The next step is to locate the SIM tray. If your phone has a case, make sure it’s removed. Depending on your smartphone, it may be found on the side, at the top, or at the bottom.  You’ll see a tiny hole next to the tray, as shown in the image below.
  • Note: Most phones also have microphone holes close to the SIM tray, so ensure you aren’t misidentifying the two. If the two holes are close by, the SIM tray hole will be part of the SIM tray design.
The SIM tray on the left side of the smartphone The bottom side of the phone with the SIM tray
  • You’ll need the SIM ejection tool to open the tray. You can find the tool inside the smartphone box. If you don’t have it, you can use a paper clip or pin.

SIM ejection tool

  • Insert the SIM tool or paperclip inside the hole next to the tray and press it with your index finger to pop the tray out. Don’t apply too much force. The tray should pop out easily.
SIM tray popping out of a smartphone SIM tray popped out of a smartphone
  • Pull out the SIM tray from the smartphone and place it on a clean, solid surface. Also, note down the position of the tray. This will make it easier to reinsert it.

SIM tray laying on smartphone's back

  • Depending on your phone, you may need a Nano or micro SIM. Almost all modern Android smartphones use Nano SIM.
  • If your phone is dual-SIM, the SIM tray will have two slots. Some Android phones also have a hybrid SIM tray (see the first picture below), which can accommodate two SIM cards or a single SIM and a microSD card.
SIM card tray with a dedicated microSD slot laying on a phone's back Nano SIM tray sitting next to two SIM cards and a ejection tool
  • Place the SIM card in slot 1 with the logo up and gold/bronze chip side facing down. Some Android phones use a SIM tray that can hold two SIMs back to back (see the image below). In that case, place the SIM card with the gold/bronze chip side facing up and the logo down. Note that the card will only fit one way.
A streched out palm displaying a SIM tray with two cards loaded A SIM tray laying on the back on the a smartphone with two SIM cards loaded
  • Now, gently push the SIM tray back into the smartphone. The tray should slide in easily without any resistance. Don’t apply force. If it’s not going in or stuck, it’s either that you’re pushing the tray in the wrong direction or you haven’t placed the SIMs correctly. In that case, gently pull the tray out. Ensure the SIM cards are properly fit and flat to the tray.

A SIM tray popping out of a smartphone

  • After reinserting the SIM tray, power on the smartphone.

If you followed the above steps correctly, you should see the carrier information and signal bars appear on the screen. That’s it. You’re now ready to start making calls and using mobile data. Many Android smartphones nowadays come with an eSIM or embedded SIM. In that case, no physical swapping of SIM cards is required.

The post How to insert a SIM card in your Android phone appeared first on XDA.


from XDA https://ift.tt/SnbRcGx
via IFTTT

lundi 22 août 2022

OnePlus 10 Pro vs Samsung Galaxy S22 Plus: Which flagship phone to buy in 2022?

The OnePlus 10 Pro delivers a solid package featuring the latest hardware, a beautiful 6.7-inch AMOLED display with a 120Hz refresh rate, super-fast charging speeds, and more. It undercuts a lot of flagship devices with its $899 price tag in the US and is quite capable of locking horns with many top-tier Android devices out there. The Galaxy S22 Plus is also a direct competitor to the OnePlus 10 Pro as they both are powered by the same chipset and there’s only a $100 price difference. There are some interesting differences between the two, so let’s take a look at the OnePlus 10 Pro vs Samsung Galaxy S22 Plus matchup to see which one’s better to buy in 2022.

Navigate this article:

OnePlus 10 Pro vs Samsung Galaxy S22 Plus: Specifications

Let’s take a quick look at the specifications to see what each of these phones bring to the table:

Specification OnePlus 10 Pro Samsung Galaxy S22 Plus
Build
  • Aluminum mid-frame
  • Gorilla Glass 5 back
  • Gorilla Glass Victus front
  • IP68 rating (only on T-Mobile models)
  • Armor aluminum frame
  • Corning Gorilla Glass Victus+
  • IP68 dust and water resistance
Dimensions & Weight
  • 163 x 73.9 x 8.55 mm
  • 201g
  • 157.4 x 75.8 x 7.6mm
  • 196g
Display
  • 6.7-inch QHD+ 120Hz Fluid AMOLED
  • 1,440 x 3,216 pixels
  • Variable refresh rate between 1Hz to 120Hz
  • 1300 nits peak brightness
  • HDR10+ certified
  • 6.6-inch Dynamic AMOLED 2X
  • FHD+ (1080 x 2340)
  • 10-120Hz Adaptive Refresh Rate
  • 1750 nits
SoC
  • Qualcomm Snapdragon 8 Gen 1 SoC
  • Qualcomm Snapdragon 8 Gen 1
  • Exynos 2200
RAM & Storage
  • 8GB/12GB RAM
  • 128GB/256GB/512GB UFS 3.1 storage
  • 8GB + 128GB
  • 8GB + 256GB
Battery & Charging
  • 5,000mAh
  • 65W wired fast charging (North America)
  • 80W wired fast charging (Everywhere outside of North America)
  • 50W wireless charging
  • Reverse wireless charging
  • Charger included in box
  • 4,500mAh
  • 45W wired fast charging support
  • 15W wireless charging support
  • 4.5W reverse wireless charging
  • Charger not included
Security Optical in-display fingerprint scanner Ultrasonic in-display fingerprint sensor
Rear Camera(s)
  • Primary: 48MP wide, f/1.8, 1/1.33″, OIS
  • Secondary: 50MP ultra-wide, f/2.2/150˚ FOV
  • Tertiary: 8MP telephoto, 3.3x optical zoom
  • Hasselblad color calibration
  • Primary: 50MP, 1.0µm, 85° FoV, 23mm, f/1.8, DPAF, OIS
  • Ultra-wide: 12MP, 1.4µm, 120° FoV, 13mm, f/2.2
  • Telephoto: 10MP, 1.0µm, 36° FoV, 69mm, f/2.4, OIS, 3x optical zoom
Front Camera(s) 32MP, f/2.2/0.8µm 10MP, 1.22µm, f/2.2, 80° FoV
Port(s)
  • USB Type-C
  • No headphone jack
  • No microSD card slot
  • USB Type-C
  • No headphone jack
  • No microSD card slot
Audio Stereo speakers Stereo speakers
Connectivity
  • 5G (mmWave) for almost all regions and carriers except AT&T in the US
  • Wi-Fi 6 (802.11ax) with 2×2 MIMO
  • Bluetooth 5.2
  • NFC
  • GPS, Galileo, GLONASS, BeiDou
  • 5G (mmWave/sub6)
  • 4G LTE
  • Wi-Fi 6E
  • Bluetooth 5.2
  • NFC
Software
  • China: ColorOS 12.1 based on Android 12
  • Global: OxygenOS 12.1 based on Android 12
  • One UI 4.1 based on Android 12
Other Features
  • Dual physical SIM
  • Alert slider
  • Three major Android OS updates promised
  • Four years of security patches
  • Promised four Android OS upgrades
  • Promised five years of security patches

Design and Display

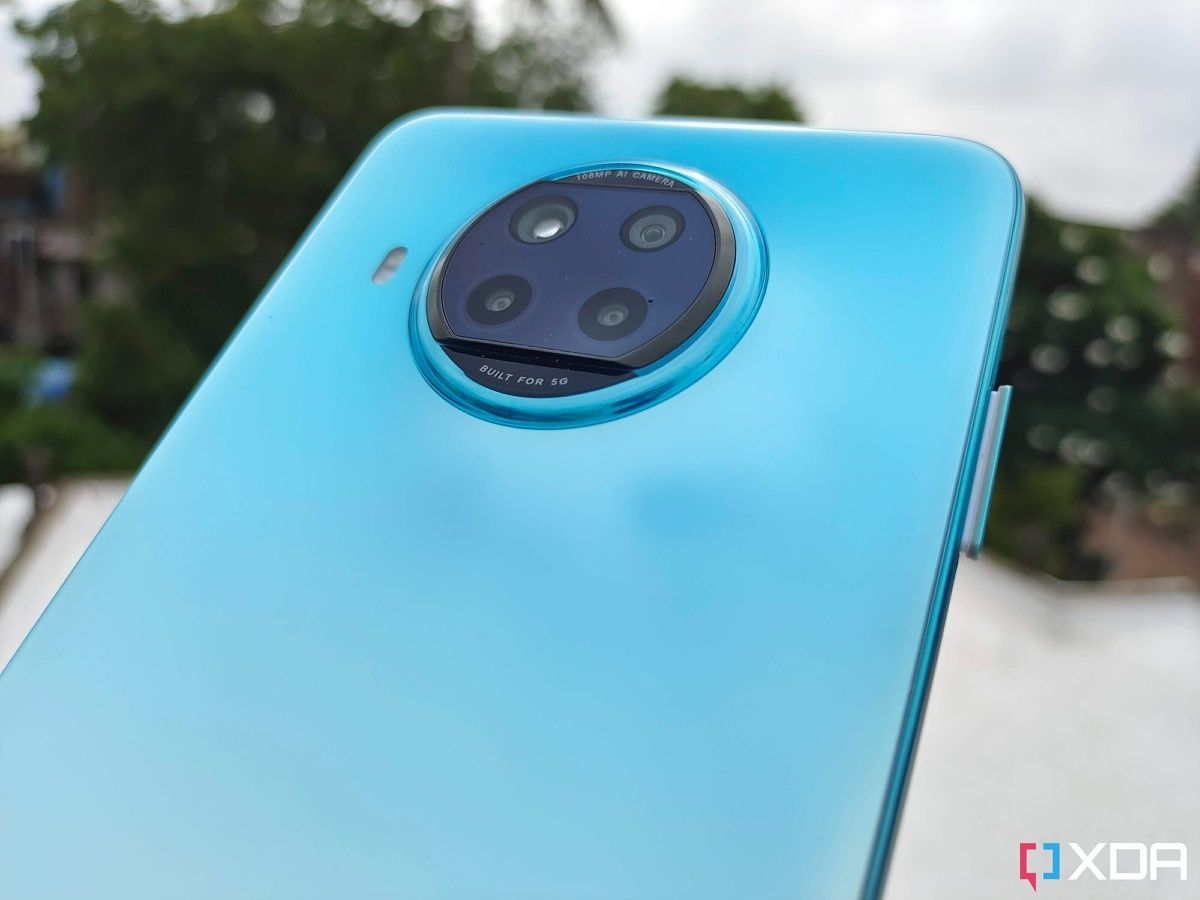
Both the OnePlus 10 Pro and the Samsung Galaxy S22 Plus are two of the best Android phones you can buy right now, and we think they both have attractive designs. The OnePlus 10 Pro looks different from its predecessors mainly because of the massive camera island at the back. It’s a rectangular housing that blends seamlessly into the mid-frame, and it carries the Hasselblad branding and four circular cutouts for the camera lenses and the LED flash. There are some mixed opinions about the way this camera housing looks, but we think it looks good for the most part albeit a bit busy.

OnePlus 10 Pro

OnePlus 10 Pro’s camera island is definitely more prominent on the Forest Emerald variant of the phone due to the contrasting shades. The Volcanic Black colorway does a better job of blending it with the back panel. The Samsung Galaxy S22 Plus, on the other hand, looks very similar to its predecessor, the Galaxy S21 Plus. We get a glass back panel this time around but the overall aesthetics remains the same. It’s got flat panels with rounded edges along with the contoured camera bump that blends into the aluminum mid-frame. The Galaxy S22 Plus is available to purchase in Phantom Black, Green, Phantom White, Pink Gold, Graphite, Cream, Sky Blue, and Violet colorways. They all look and feel quite premium, so it comes down to your personal preference.

Galaxy S22 Plus in four colors

The Galaxy S22 Plus is both thinner and lighter compared to the OnePlus 10 Pro as you can see from the dimensions mentioned in the specs sheet above. The overall footprint of the Galaxy S22 Plus is also slightly smaller, so you’re better off buying it over the OnePlus 10 Pro if you happen to have smaller hands. In terms of durability, both phones use Gorilla Glass panels for both the front and the back, although the Galaxy S22 Plus uses the slightly better Gorilla Glass Victus Plus. You also get an aluminum mid-frame on both phones, so they’re equally sturdy. Only the T-Mobile variants of the OnePlus 10 Pro come with an official IP68 rating, whereas all models of the Galaxy S22 Plus have an IP68 rating for dust and water resistance.

Front of smartphone screen with camera cutout

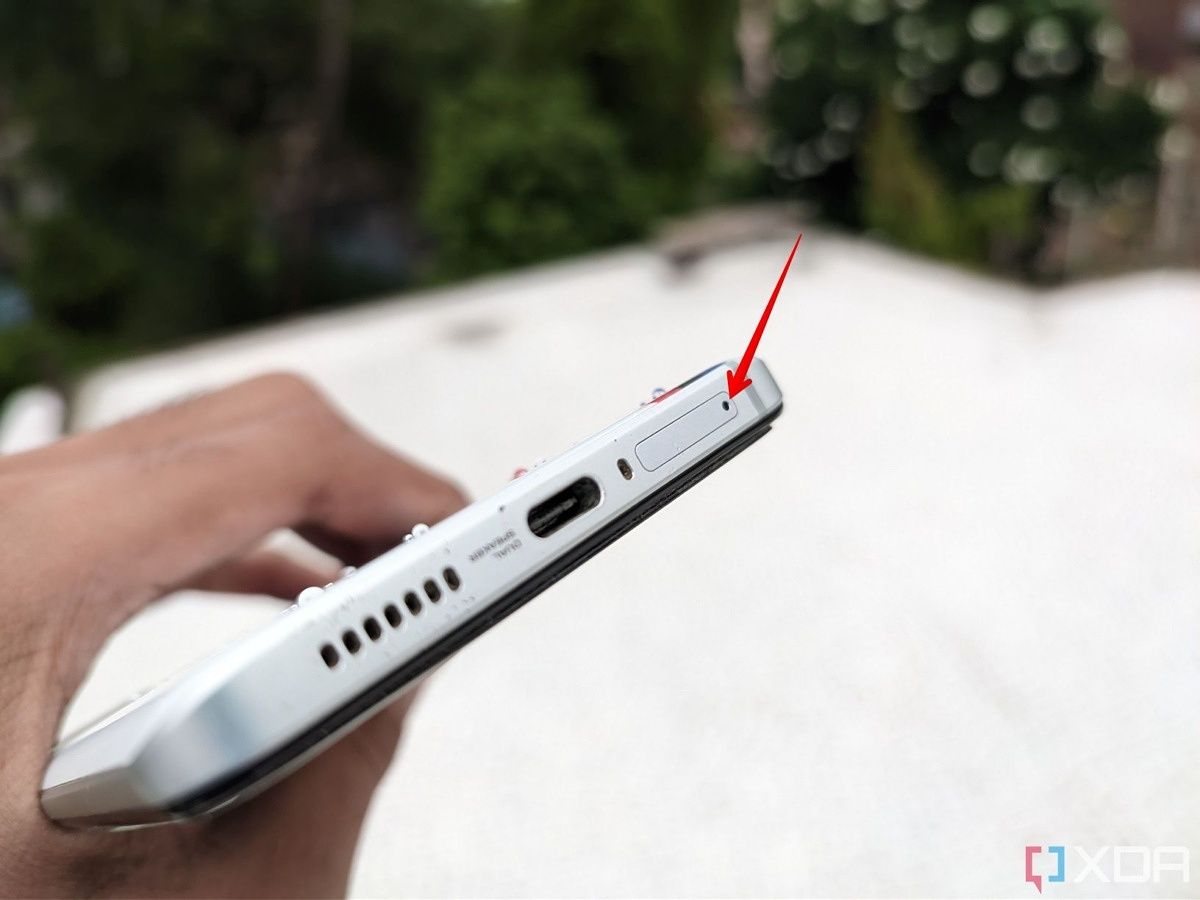
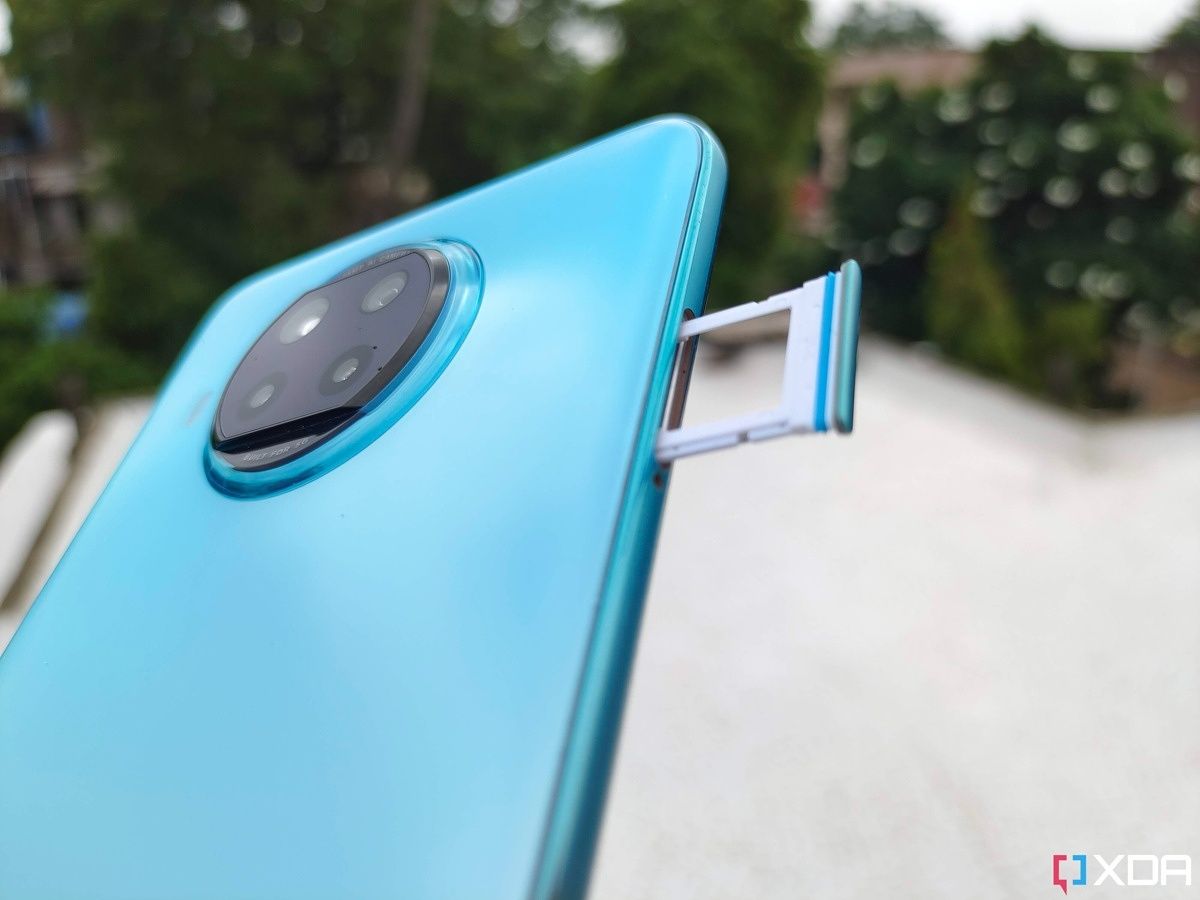
Besides that, both phones have a USB-C port at the bottom along with the speaker grills. There’s no headphone jack on these phones, and you can’t add a microSD card to expand the storage either. The only notable addition that the OnePlus 10 Pro brings over the Galaxy S22 Plus is the alert slider, which is somewhat of a dying breed in itself as none of the new OnePlus devices seem to have it.

OnePlus 10 Pro in sandstone black case

Moving over to the front, you get a beautiful AMOLED display on both phones. It’s a 6.7-inch QHD+ 120Hz Fluid AMOLED on the OnePlus 10 Pro while the Galaxy S22 Plus gets a 6.6-inch Dynamic AMOLED 2X display. The OnePlus 10 Pro’s display is sharper as it supports a higher resolution, but the Galaxy S22 Plus display is brighter as it peaks at 1,750 nits compared to 1,300 nits. But they’re both equally good panels for day-to-day usage and media consumption with HDR10+ certification. The display on the OnePlus 10 Pro has curved edges, so you don’t notice the bezels on the sides. The Galaxy S22 Plus sports a flat panel and you get uniform bezels on four sides of the display. There’s a punch hole cutout on both panels for the selfie camera, but it’s more prominent on the Galaxy S22 Plus as it’s centrally aligned.

Internal hardware and cameras

The OnePlus 10 Pro is powered by the Snapdragon 8 Gen 1 chipset and it’s served with either 8GB or 12GB RAM and up to 256GB storage. In typical Samsung fashion, the Galaxy S22 Plus comes in two variants that are powered by different chipsets. You get the Snapdragon 8 Gen 1 chipset in the United States and some other regions, while others get an Exynos 2200 instead. Unlike, the OnePlus 10 Pro, however, the Galaxy S22 Plus tops out at 8GB RAM, so keep that in mind. Both phones will deliver flagship-level performance, and this is regardless of whether you buy the Snapdragon or the Exynos variant of the Galaxy S22 Plus.

Close up of camera on S22 Plus

You may see some difference in performance while running benchmarking applications or pushing them to their limits with other resource-intensive tasks. But you would hardly be able to tell the difference between the two while using them side-by-side for your day-to-day workloads. There are some reservations around the Exynos variants of the Galaxy S22 series phones, and you can learn more about them in our Snapdragon vs Exynos-powered Galaxy S22 Ultra comparison. As far as the batteries are concerned, the OnePlus 10 Pro packs a bigger 5,000mAh unit compared to the 4,500mAh cell found inside the Galaxy S22 Plus. It also earns brownie points with fast-charging support. The OnePlus 10 Pro supports 80W fast-charging (limited to 65W in North America), which is significantly faster than the 45W fast-charging support on the Galaxy S22 Plus. Wireless charging support is limited to just 15W on both phones, so no differences there.

oneplus 10 pro back camera array with phone on granite

Overall, we’re looking at the same level of performance on both phones for all practical purposes. However, the OnePlus 10 Pro handily beats the Galaxy S22 Plus with its fast-charging capabilities. Moving on to the optics, the OnePlus 10 Pro sports a 48MP main camera, a 50MP wide-angle camera with 100-degree FoV, and an 8MP telephoto lens with support for 3.3x optical zoom. OnePlus also has a couple of other interesting shooting modes including a special 150-degree wide-angle camera mode. The Samsung Galaxy S22 Plus, on the other hand, brings a 50MP primary camera, a 12MP ultrawide angle lens with 120-degree FoV, and a 10MP telephoto lens with 3x optical zoom.

You can get some great-looking photos from the primary sensors of both devices, but the other cameras on the OnePlus 10 Pro aren’t as consistent as the ones on the Galaxy S22 Plus. Both phones struggle to capture good shots in low-light but the Galaxy S22 Plus ends up producing more usable shots. You get a 10MP camera for selfies on the Galaxy S22 Plus while the OnePlus 10 Pro comes with a 32MP sensor. Both phones can shoot videos at up to 8K at 24fps, but the OnePlus 10 Pro can also do 4K at up to 120fps whereas the Galaxy S22 Plus tops out at 60fps for 4K videos.

OnePlus 10 Pro vs Samsung Galaxy S22 Plus: Software

Both phones in this comparison ship with Android 12 out of the box. You get OxygenOS 12.1 with the OnePlus 10 Pro while the Galaxy S22 Plus comes with OneUI 4.1. Both are based on Android 12, but we think Samsung’s OneUI is more stable. Not to mention, Samsung is also relatively quick to roll out updates for its devices, something which OnePlus has been struggling with lately. One of the best things about the Galaxy S22 Plus is Samsung’s promise of keeping the device updated for a long time. The Galaxy S22 Plus is promised to get four years of software updates and up to five years of security patches. OnePlus is only promising three major Android updates and up to four years of security patches for the OnePlus 10 Pro, meaning the Galaxy S22 Plus will last you longer.

OnePlus 10 Pro vs Samsung Galaxy S22 Plus: Which one should you buy?

The OnePlus 10 Pro, as we mentioned earlier, will cost you $899 in the US for the base variant with 8GB RAM and 128GB storage. The Galaxy S22 Plus starts at $999 in the US for the same memory and storage configuration. The OnePlus 10 Pro is arguably the better phone in this comparison if you’re looking to get the best value for your money. For $899, the OnePlus 10 Pro offers a sharp and beautiful AMOLED display, the same Snapdragon 8 Gen 1 processor, and insanely fast charging with a bigger battery. You also get a versatile camera setup for taking some decent-looking photos and videos. They can’t quite match the level of some of the other flagship smartphone cameras, but they get the job done.

For $100 more, the Galaxy S22 Plus offers a more refined experience overall. Samsung is using the tried and tested formula for this device, so you get a phone that looks and feels just as premium as some other expensive flagships on the market. The Galaxy S22 Plus also offers reliable performance and a great set of cameras, but it misses out on the battery front. It packs a relatively smaller battery and it doesn’t charge as fast as the OnePlus 10 Pro either. The Galaxy S22 Plus, however, excels in the software department, so keep that in mind.

Both phones have advantages and disadvantages of their own, so it comes down to your personal preference. The OnePlus 10 Pro offers the best value for money with its impressive performance, beautiful display, and fast-charging support. But the Galaxy S22 Plus might be the phone to buy if you want reliable and more consistent cameras and better software support.

    OnePlus 10 Pro
    The OnePlus 10 Pro is the latest and greatest flagship smartphone from OnePlus, and packs some of the best performing hardware into one package.
    Samsung Galaxy S22 Plus
    The Galaxy S22 Plus is one of the best Android phones you can buy if you don't want all the bells and whistles provided by the Ultra.

Regardless of the phone you choose to buy, be sure to check out our Galaxy S22 Plus deals and the OnePlus 10 Pro deals page to see if you can save some money on your purchase. You can always use some extra cash to splurge on a good quality case for your device. You can find some good options to consider in our best Galaxy S22 Plus cases and the best OnePlus 10 Pro cases articles.

The post OnePlus 10 Pro vs Samsung Galaxy S22 Plus: Which flagship phone to buy in 2022? appeared first on XDA.


from XDA https://ift.tt/6wgJTMt
via IFTTT

The Apple Self Service Repair program now includes M1 MacBook models

Last April, Apple launched its Self Service Repair program for select iPhone models. At the time, the company mentioned that it would then be expanding the program to support more models and device types. The wait for M1 MacBook owners is now over. Starting tomorrow, users with M1 MacBook Air and MacBook Pro models will be able to order genuine spare parts from the company’s repair store. These include screens, trackpads, batteries, and more.

In a Newsroom post, Apple has announced that its Self Service Repair program will start including M1 MacBooks. Of course, this encompasses the entire M1 family, including the regular M1 and M1 Pro chipsets. For now, this expansion only affects these particular MacBooks. So those with an older model or a different Mac device won’t be able to take advantage of the program just yet.

The Apple tools are custom designed to help provide the best repairs for Apple products, and are engineered to withstand the rigors of high-volume, professional repair operations where safety and reliability are the utmost priority. Apple will offer rental kits for $49, so that customers who do not want to purchase tools for a single repair still have access to these professional repair tools. Customers will have access to the tool kit for one week and it will be shipped free of charge.

To motivate customers to send back the damaged parts, Apple is also offering credit under certain conditions. The company then recycles or refurbishes these parts to give them a second life. Though, for the time being, the Apple Self Service Repair program remains exclusive to the United States. Nonetheless, the company plans on introducing it in more regions — starting with Europe.

Apple warns average users and advises them to get their products repaired at authorized centers. Considering the complexity of the process, many users could end up further damaging their devices if they attempt to do it by themselves.

Do you plan on taking advantage of the Self Service Repair program? Why or why not? Let us know in the comments section below.


Source: Apple Newsroom

The post The Apple Self Service Repair program now includes M1 MacBook models appeared first on XDA.


from XDA https://ift.tt/SDXMrzT
via IFTTT